

Key Takeaways for Perfect Placement
Before you pick up a drill, understanding the fundamentals of cabinet hardware placement will ensure a beautiful and functional result. There are no absolute rules, but these guiding principles will help you make confident decisions for your project.
- Plan Before You Drill: The most important step is to plan your layout. Once a hole is drilled, it’s permanent. Taking a few extra minutes to measure and test will prevent costly mistakes.
- Trust Your Eye: While we provide common guidelines, every cabinet and hardware piece is different. Use these measurements as a starting point, but always step back and see what looks best to you.
- Test with Tape: Use painter's tape or a temporary adhesive to stick your knobs or pulls in place. This lets you visualize the final look from different angles before committing.
- Use a Template for Consistency: For projects with multiple doors and drawers, a hardware template is your best friend. It ensures every knob and pull is perfectly aligned, giving your kitchen or furniture a professional finish.
Why Thoughtful Cabinet Hardware Placement Matters
Cabinet hardware is often called the jewelry of a room, and for good reason. It’s a small detail that has a huge impact on the overall look and feel of your cabinetry. But unlike jewelry, it’s not easily changed. Drilling a hole is a permanent decision, which is why thoughtful placement is so important. It’s the difference between a project that looks polished and one that feels slightly off.
Proper cabinet handle placement creates a clean, intentional visual rhythm across a bank of cabinets. When every handle aligns perfectly, the entire space feels more cohesive and professionally done. Beyond aesthetics, placement affects daily function. Hardware that is positioned awkwardly can be uncomfortable to use, snag on clothing, or prevent a door from opening fully if it hits an adjacent wall or appliance.
Just as with other crafts that demand precision, like how artists consider the perfect placement for a back tattoo design, planning is everything. Taking the time to get it right ensures the final result is one you’ll be happy with for years to come.
Placement Rules for Knobs vs. Pulls
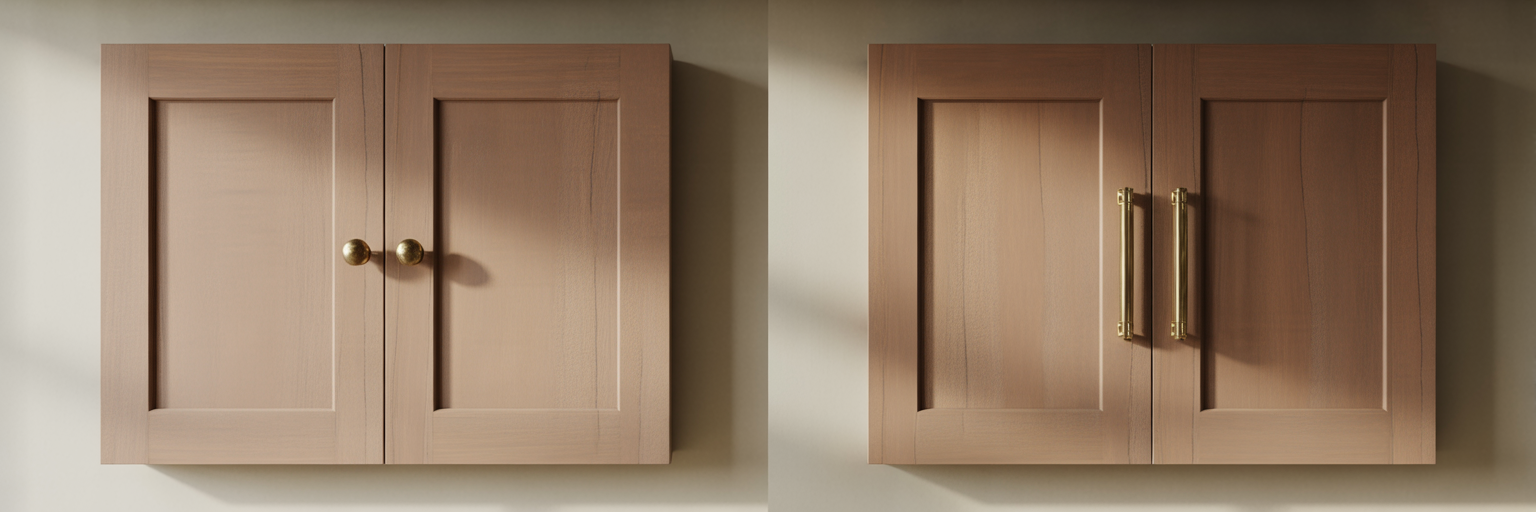
The first decision in hardware placement is understanding the difference between knobs and pulls. Knobs are single-point fixtures attached with one screw, while pulls (or handles) are two-point fixtures attached with two screws. This difference fundamentally changes where they look and feel best.
On cabinet doors, hardware is almost always placed on the stile, which is the vertical frame of the door. This provides a solid mounting point and looks visually balanced. Pulls are mounted vertically on doors and horizontally on drawers. Knobs, being symmetrical, work well in either orientation. Here’s a quick comparison to help you decide.
| Hardware Type | Placement on Doors | Placement on Drawers |
|---|---|---|
| Knobs | On the stile, in the corner opposite the hinge | Centered horizontally and vertically |
| Pulls (Handles) | Vertically on the stile, opposite the hinge | Centered horizontally |
| Best For | Classic look, single-point attachment | Modern or traditional styles, better grip for heavy drawers |
Guidelines for Placing Hardware on Cabinet Doors
When deciding where to put knobs on cabinets, the location depends on whether it's an upper or a base cabinet. The goal is to place the hardware where your hand would naturally reach to open the door.
- For Upper Cabinets: Place the knob or the bottom of the pull on the bottom corner of the door stile, opposite the hinge.
- For Base Cabinets: Place the knob or the top of the pull on the top corner of the door stile, opposite the hinge.
A common starting point for placement is to align the screw hole 2.5 to 3 inches from the top or bottom edge of the door. For pulls, the vertical handle should be centered on the width of the stile. However, this is just a guideline. The size and style of your hardware can influence the final position. A more decorative piece, like one of our geometric cabinet ring pulls, might need a little extra space to look its best. Always place hardware on the solid wood stile, not the thinner inset panel, for a secure and lasting installation.
Guidelines for Placing Hardware on Drawers
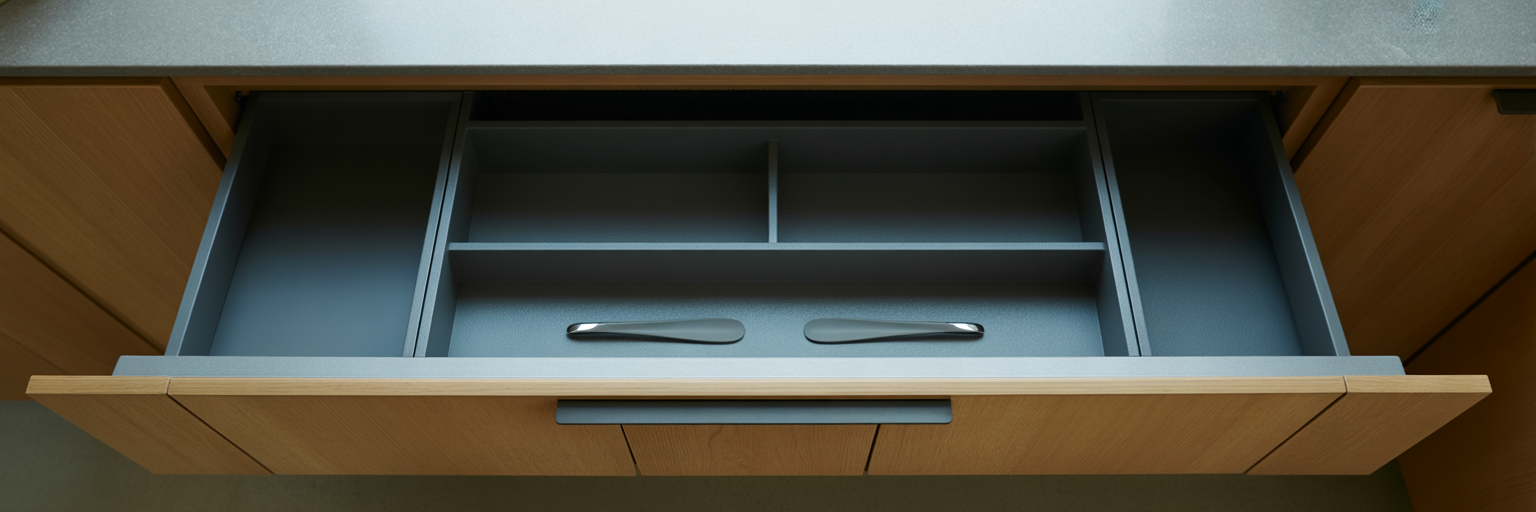
The approach for drawer pull placement is all about creating horizontal balance. For most standard drawers, the rule is simple: center the hardware. If you’re using a single knob or pull, find the horizontal and vertical center of the drawer face and mark your spot.
For a stack of drawers, you have two main options. You can center the hardware on each individual drawer face, which is the most common method. Alternatively, for a more modern look, you can align all the pulls with the hardware on the top drawer. This creates a strong, clean line down the cabinet stack.
If you have wide drawers (typically over 24 inches), a single knob or small pull can look undersized and be difficult to use. In this case, consider using a longer pull that is roughly one-third of the drawer's total width. Another popular option is to use two knobs or pulls. To place them, divide the drawer into thirds and place the hardware in the center of the left and right sections. When selecting pulls, remember to check the center-to-center measurement—the distance between the screw holes—to ensure you drill correctly. You can see how different sizes look on products like our solid brass knurled cabinet pulls, which come in various lengths.
How to Test Your Placement Before You Drill
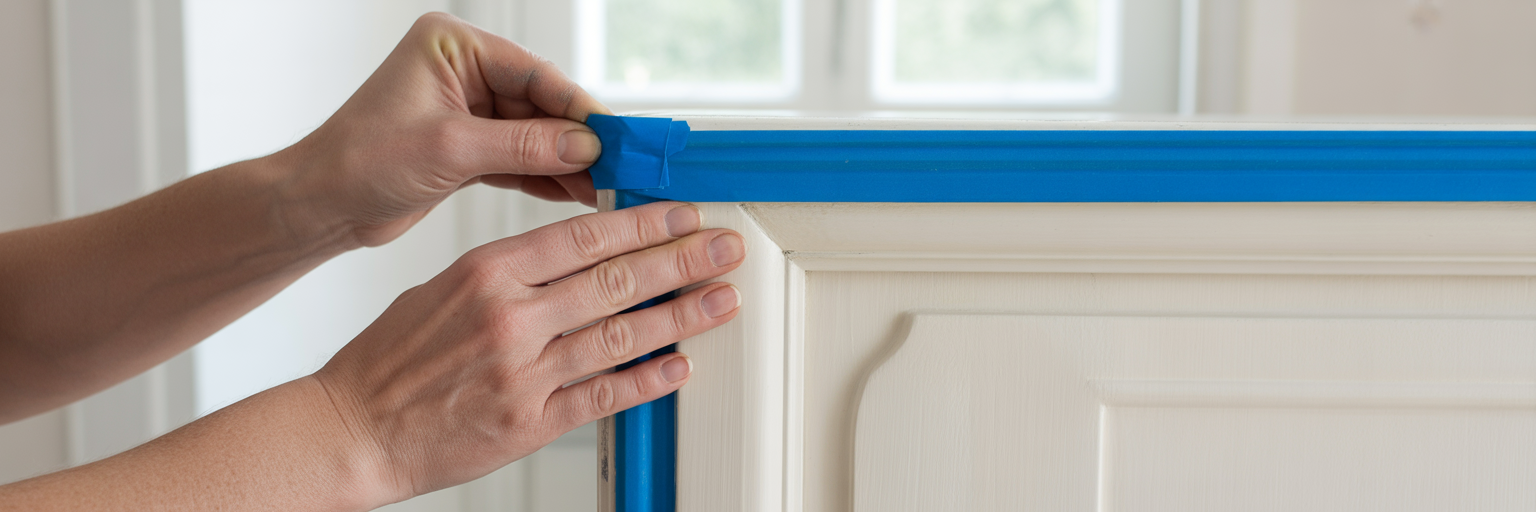
Visualizing your hardware in place is the best way to avoid placement regret. The easiest method is to use painter's tape or a bit of reusable putty to temporarily affix your knobs and pulls to the cabinet doors and drawers. This allows you to step back, view the layout from a distance (about 6 to 10 feet away), and make adjustments until it feels right.
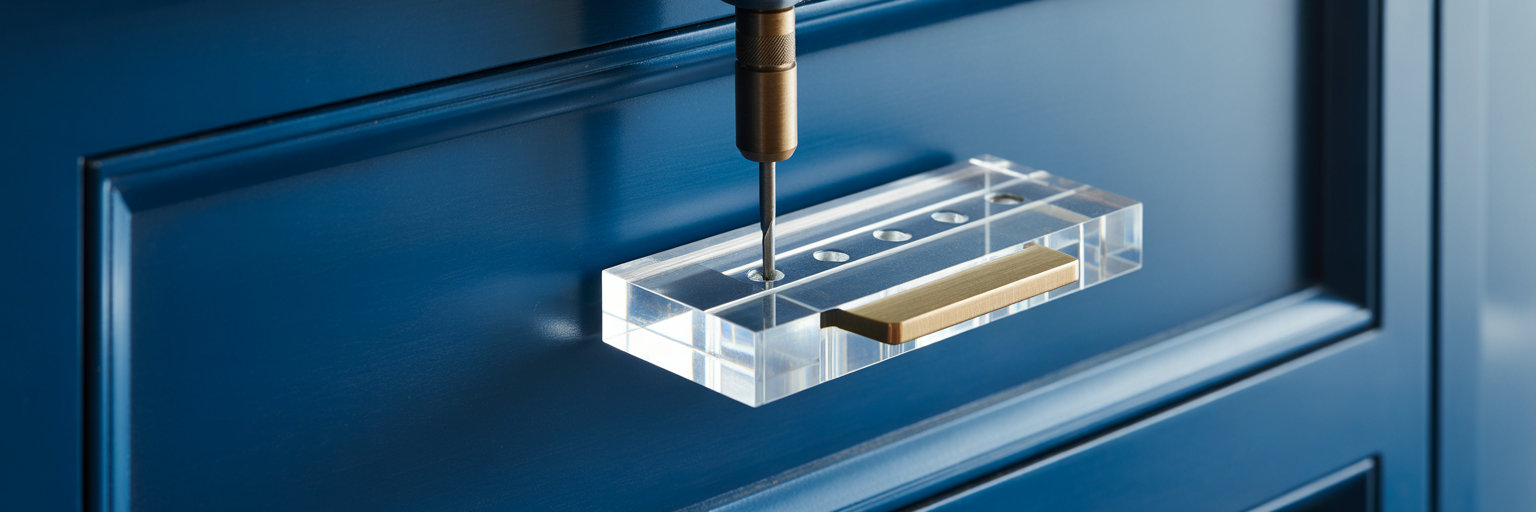
For a large kitchen cabinet hardware placement project, a hardware template (or jig) is a worthwhile investment. This tool helps you repeat the exact same measurements on every door and drawer, ensuring perfect consistency. You can also create a simple DIY template from a piece of cardboard. Just measure and punch holes for your hardware, then use it as a guide for marking your drill points. Before making any final marks, mimic the motion of opening the door or drawer to ensure the placement is comfortable and ergonomic.
Common Placement Mistakes to Avoid
A little foresight can help you avoid these common hardware placement errors. Keep this list in mind as you plan your project.
- Drilling Before Testing: This is the number one mistake. Always test your placement visually before making it permanent. What looks good on paper might not translate perfectly to your actual cabinets.
- Inconsistent Heights and Alignment: Misaligned hardware can make an entire kitchen look sloppy. Use a level and a template to ensure every piece lines up perfectly.
- Ignoring Cabinet Features: Make sure your new hardware won't hit an adjacent wall, appliance, or another cabinet handle when the door is opened. Check the swing clearance.
- Poor Ergonomics: Hardware should be comfortable to use. Placing it too high, too low, or too close to an edge can make opening drawers and doors awkward.
Your Final Pre-Drilling Checklist
You’re almost ready. Before you drill, run through this final checklist to ensure a flawless installation.
- Have you tested the placement with painter's tape and viewed it from a distance?
- Are you using a template or level to ensure consistent alignment?
- Have you checked that doors and drawers can open fully without the hardware hitting anything?
- Have you double-checked your measurements one last time before marking the drill hole?
Frequently Asked Questions About Hardware Placement
Where do you put hardware on Shaker cabinets?
For Shaker cabinets, the rule is the same: always place hardware on the stile (the raised frame), not the flat center panel. This provides the most secure mounting point and maintains the cabinet's classic lines.
Should all cabinet hardware be at the same height?
Not necessarily. Hardware on upper cabinet doors is placed near the bottom, while hardware on base cabinet doors is placed near the top. For drawer stacks, you can either center the hardware on each drawer or align them all with the top drawer for a different look.
When should you use two pulls on a drawer?
A good rule of thumb is to consider two pulls or knobs for drawers that are 24 to 30 inches wide or wider. This provides better balance both visually and functionally, making it easier to open heavy drawers.
How do I replace old hardware with a different size?
If you're replacing pulls, you'll need to find new ones that match the existing "center-to-center" screw hole measurement. If you can't find a match, you may need to fill the old holes with wood putty, sand, and repaint before drilling new ones. You can browse our collections of drawer pulls and knobs to find a style that fits.
Ready to Choose Your Hardware?
With a clear plan for your cabinet hardware placement, you're ready for the most exciting part: choosing the hardware that will bring your project to life. Taking the time to plan ensures your new knobs and pulls will look beautiful and function perfectly for years to come.
Now that you know where your hardware will go, feel free to explore our curated collections of Drawer Pulls and Knobs to find the perfect style for your home. And remember, you can always order samples to see how different finishes and sizes look in your space before making a final decision.


